 |
 |
Once we have a list of the parishes in each Hundred during the 19th century, we can proceed to include these in our mapping. Luckily we can use Wikipedia for this using this page:
and an example selected might be Lackford Hundred, found here:
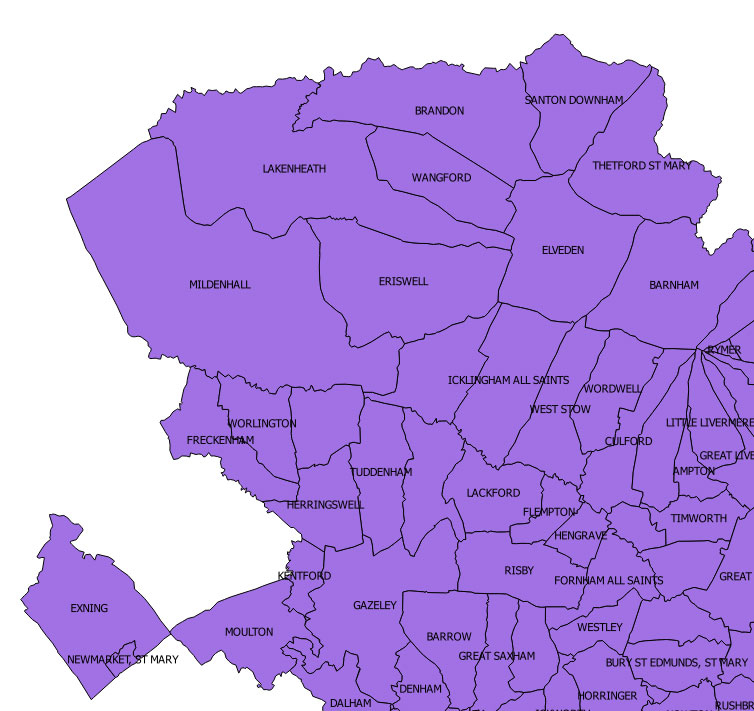
We need to zoom in on the area which includes Lackford Hundred. In order to see the parish names, we need to apply the attribute field containing each parish name, which is headed PAR. Double clicking on the Layer name will open the Layer Properties window. Select the Labels tab, and check in the box marked 'Label this layer with', and select PAR from the drop down menu. You need not do anything else, but if you want to keep the map tidy when zoomed out, then check 'Scale based visibility', and amend the 'maximum ' figure to 150,001.
Click 'Apply' to see if you like the result, and then click 'OK' to close this panel.
You will now only see the parish names displayed at scales of 150,000 or more, (a lesser number, but a larger scale map).
 |
To view the whole attribute table for the layer, right click on the Layer name, shown in the QGIS 'Layer' panel and select 'Open Attribute Table'.
By opening the attribute table for this data, we can see a variety of columns containing information about each parish. The county name is in the final column headed GAZ_CNTY, and every parish should have SUFFOLK in this column. The column PAR contains the parish name.
We can now make a new column to hold the Hundred name for each parish. Open the attribute table if you have not yet done so. Click on the icon of a pencil, which turns on the editing function, and click the penultimate icon, which is 'Add new field'.
The 'Add column' dialogue asks for a name for the column, eg HUNDRED, so enter the new name, change the field type to 'Text (string)' and update the 'Width' to 25 characters, which should be ample. Click OK and a whole new column will appear, although with no data at the moment. Instead of data, you will see that every cell in the new column is filled with the attribute NULL. Click on the pencil to stop editing and reply 'Yes' when asked if you want to save the updates made.
Now we can start selecting the parishes within Lackford Hundred by consulting the Wikipedia list shown above.
Click on the Layer name in the Layers panel to make it the live layer. (If you have worked through the instructions above, it may still be live anyway.) Now click on the pencil icon in the second row of icons at the top to turn on editing. If all is correct, all the parish boundaries should be lit up by red crosses. Search for the icon labelled 'Select by area or single click'. It is the top row of icons just over half way along. You can confirm each icon's identity by hovering the cursor over it. It should then reveal its description. Click on the small adjacent drop down menu and select 'Select features'. Now click on the first parish you want and it should turn yellow to show that it is selected.
Now comes the tricky bit and the hard slog. You MUST now hold down the ctrl button on your keyboard while you select any further parishes. If you forget to press ctrl, then all your previous selections will disappear, leaving only the last one showing yellow!
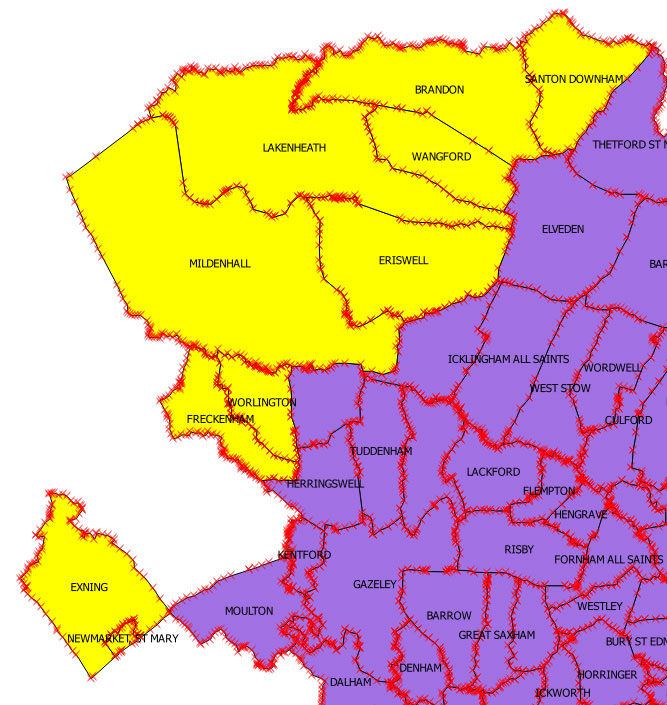
Now continue to select your Lackford parishes. The partly completed process is shown below. You can see the selected parishes in yellow, and the red crosses which show that editing is in progress.
 |
Now carry on and complete your selection of all the Lackford Hundred parishes. If you miss one, do not worry, as ones can be added later, or errors corrected later.
Once happy with your selections, open the attribute table as before. You might like to see all the selected attribute entries, and so click on the icon at the top of the attribute table called, 'Move selection to top'. You will now find all your selected parishes highlighted at the top of the table.
Now we want to give them all the Hundred name of LACKFORD in the Hundred column. To do this click on the 'Field Calculator' icon, usually found at the right hand end of the list of icons. This opens the Field Calculator dialogue.
Make sure that there is a check mark in the boxes, 'Only update selected features', and 'Update existing field'. In the drop down menu below the 'Update existing field' box, select the column name that you just added, probably called HUNDRED, if you followed my example. You are now ready to tell QGIS what data you want to place in the selected HUNDRED fields.
In the empty Expression box, type in 'LACKFORD' making sure to enclose the name in single apostrophe marks, ie '. If you get it wrong there will be an 'expression invalid' message. If the output preview at the bottom says LACKFORD, then you got it right, so click OK.
You can now look at your attribute table and see your selections now include LACKFORD in the Hundred column. (Meanwhile all the other parishes continue to contain NULL in the Hundred column.) So now cancel your selected list by clicking on the icon, 'Unselect all', and close the attribute table.
Now proceed with your next Hundred. This is where it gets tedious, and is a long slog to work through the whole county.
So when you need a rest, turn off editing and close the program, but make sure that you Update Project first.
| Go to DIY digital mapping Homepage |
This page created 21st September 2015 Last updated 21st September 2015. | Go to Main Home Page |