 |
 |
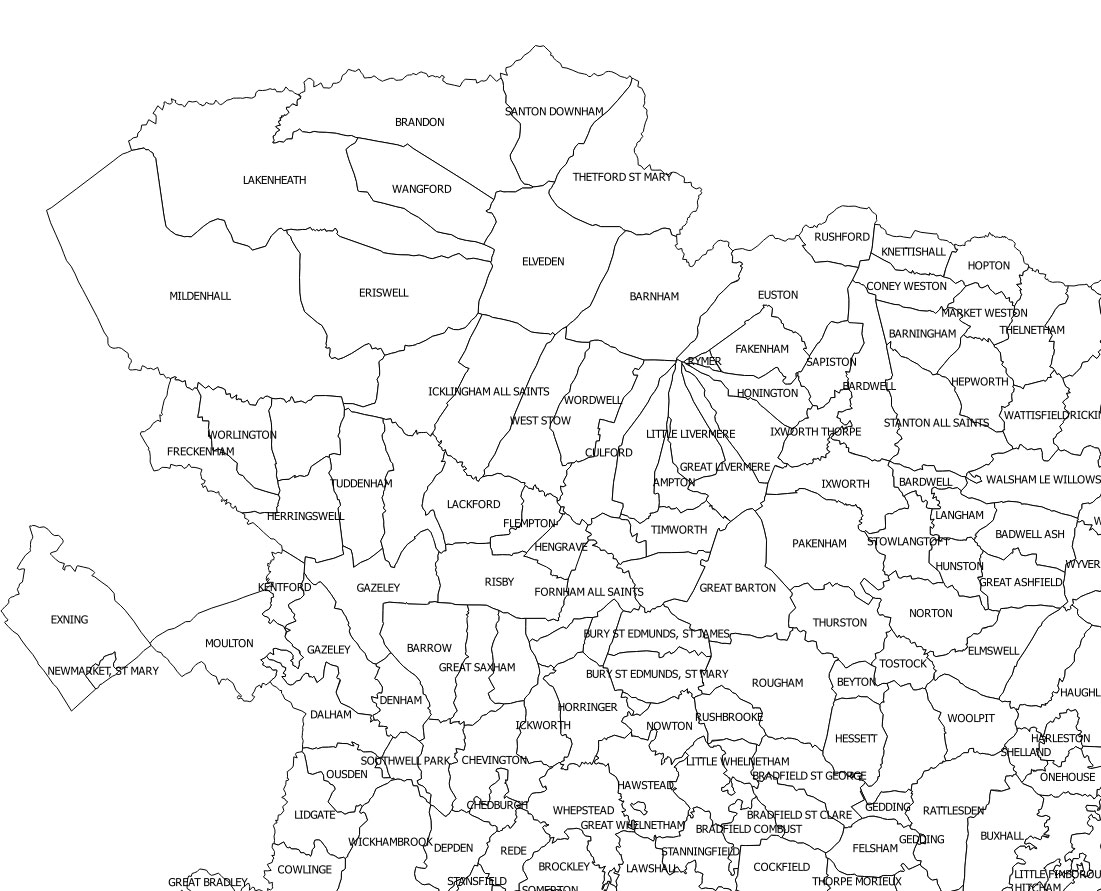
So far we have been happy to use the parish layer with its default colour, in this case, purple. It now becomes advantageous to change the parish fill colour into a transparent fill. Transparency allows any layers beneath the parish layer to show through.
The styling of the layer must be changed to make each parish have what is called a 'transparent fill'. This is achieved by clicking on the layer name to open the layer properties dialogue. Open the tab marked 'Style'. Click on the small coloured box labelled 'Simple fill'. This opens a new view. Look for 'Colors Fill' which also contains the fill colour, but now clicking on the adjacent drop down menu produces a list of possible colours, but also allows you to select 'Transparent Fill'.
 |
Having got a transparent parish layer, we will make a copy of it. The copy is a temporary copy which exists only within this project.
Right click on the parish layer name in the Layers window, and select 'Duplicate' in the menu that appears. The new copy will have the same name as parish layer, with the word 'copy' appended to it. Make sure it is visible by putting a check mark in the small box to the left of its name.
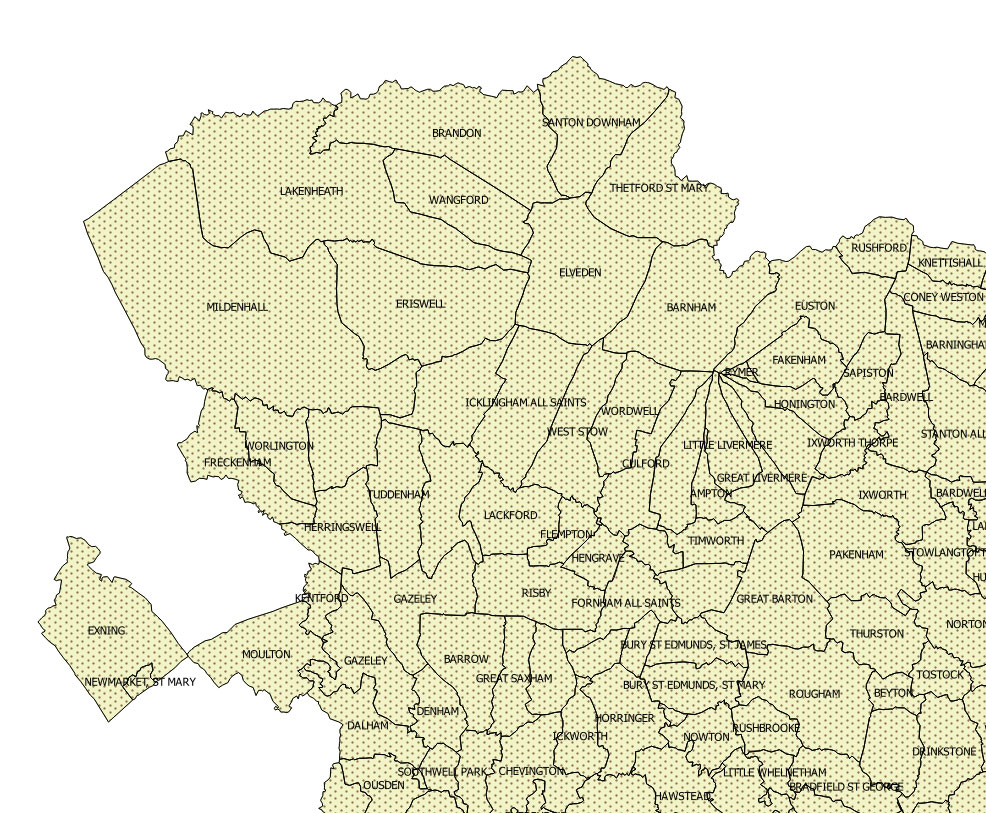
You will see the default colour through the transparent parish layer. Now double click on the copy layer name to open the Layer Properties window, and select the 'Style' tab. I suggest selecting one of the distinctive dotted styles as shown below.
At this stage every transparent parish is displaying the new dotted style from the layer below it.
 |
To view the whole attribute table for the layer, right click on the Layer name, shown in the QGIS 'Layer' panel and select 'Open Attribute Table'.
By opening the attribute table for this data, we can see a variety of columns containing information about each parish. The county name is in the final column headed GAZ_CNTY, and every parish should have SUFFOLK in this column. The column PAR contains the parish name. The new column which we have created, called HUNDRED, will be filled with cells containg 'NULL', except for those cells to which we have already allocated a Hundred name.
'NULL' means that the data is unknown. It is a special attribute used in databases for the missing or unknown content. It is not the same as zero, and is not the same as blank, both of which could be valid data in some circumstances. We will make use of NULL in tracking our progress in selecting parishes across the county.
We will now take advantage of the fact that the previously selected Hundred of Lackford now has 'LACKFORD' in each cell of the HUNDRED column, while all the other parishes not yet processed contain the NULL attribute.
We will do this by changing the 'Single symbol' styling to a rule based style.
Double click on the copy parish file to open the copy's Layer Properties, and select the Style tab. At top left there is a drop down menu which currently says 'Single Symbol'. Open the drop down menu and select 'Rule Based'. A new window opens to display the Rules panel. We now wish to make the rule that only those parishes which are not NULL will display the style selected.
The top line shows our existing style, and under Rule it shows (no filter). Now highlight the rule line, and double click on (no filter), and it should now allow you to type in the new rule or filter. Type in "HUNDRED" IS NOT NULL - Note that the column name HUNDRED is enclosed in quotation marks, and should be typed in the case used in your attribute table. Note also that NULL is not enclosed in quotes, as it is a special case, being neither numeric nor alphabetic.
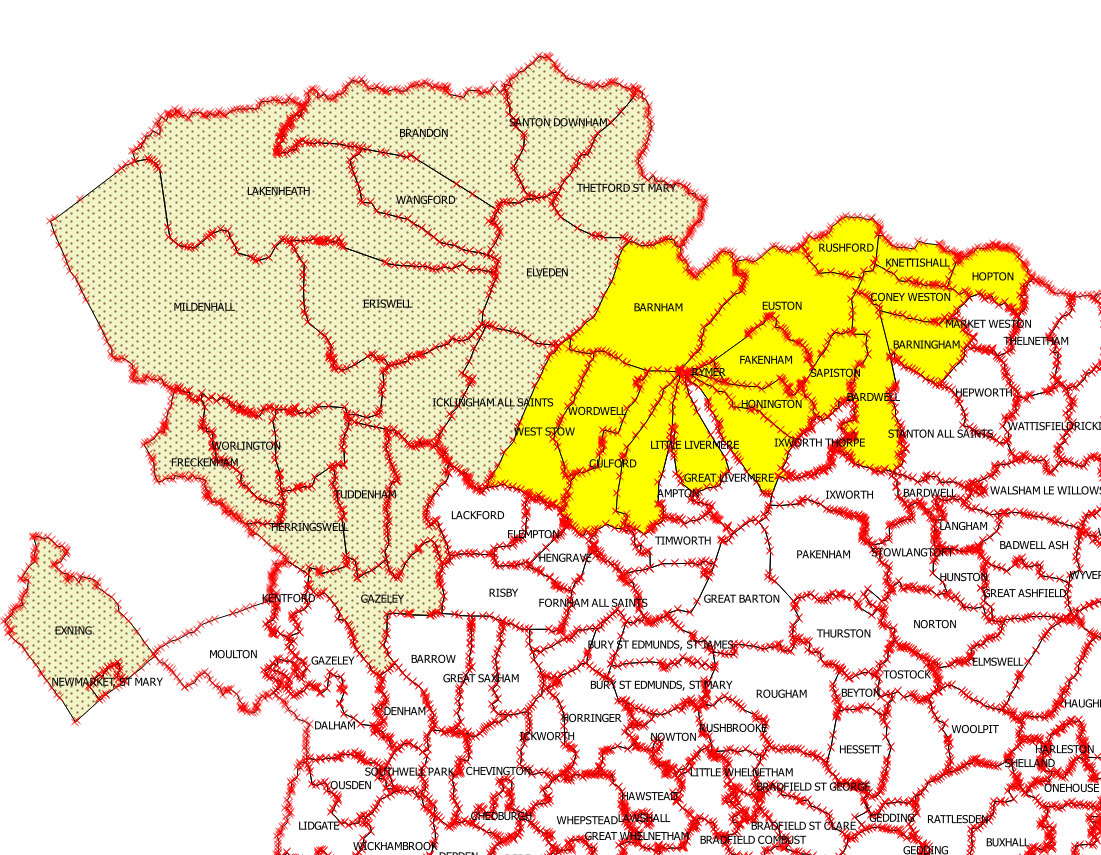
We now see the effect of this manoeuvre. The already processed Hundred of Lackford is shaded with dots showing through from the copy layer. Meanwhile the picture shows the effect of the partly selected Hundred of Blackbourne in progress on the parish layer.
 |
When all the Hundreds have been selected, the whole county will show the dotted style. As we no longer require the use of this dotted copy layer, we will uncheck it in the Layer window and it will disappear.
We could now, if desired, style the parish layer by using a categorised style based upon the column HUNDRED, which will colour up all the parishes in each Hundred with its own colour.
However, it will be more useful to proceed to extract a polygon for each Hundred, which can then be styled as mentioned, but it allows us to then use those polygons, either including the parish boundary layer, or excluding it for a less cluttered appearance.
This may be done by using the 'Dissolve' tool as shown in the next section.
| Go to DIY digital mapping Homepage |
This page created 21st September 2015 Last updated 29th September 2015. | Go to Main Home Page |