 |
 |
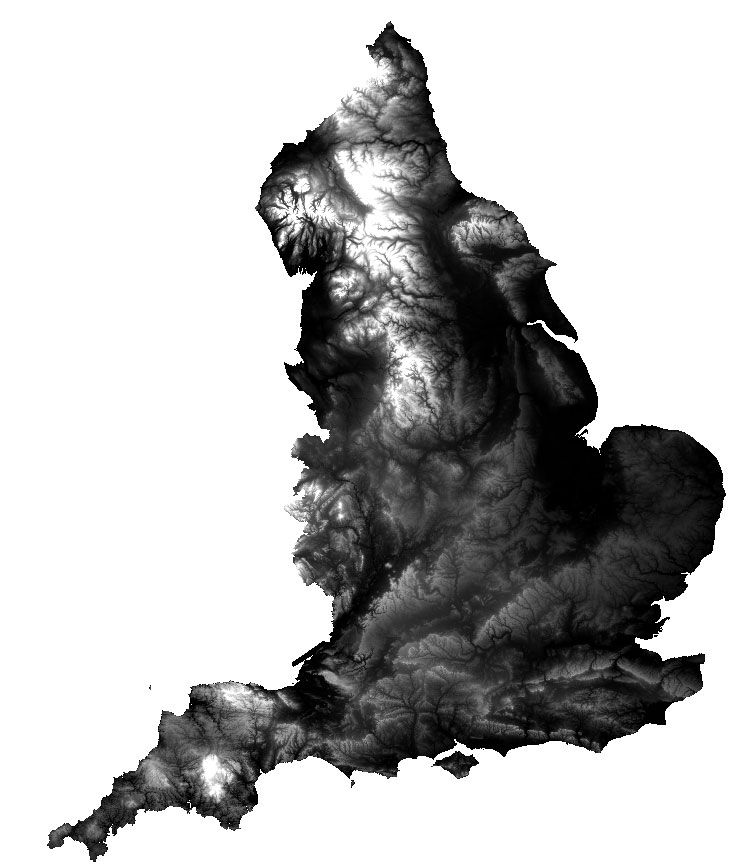
Here we have an ASCII grid or Digital Terrain Model of all of England and downloaded from EDINA's ShareGeo Open data website, based upon the OS Landform Panorama dataset. The link is shown on the Resources page above.
Here the DTM has been loaded and styled in the usual default Singleband Grey colour to assess the impact of the data. Even on a very fast computer, there is so much data here that it takes a number of seconds before the map is displayed, or 'rendered' in computer speak.
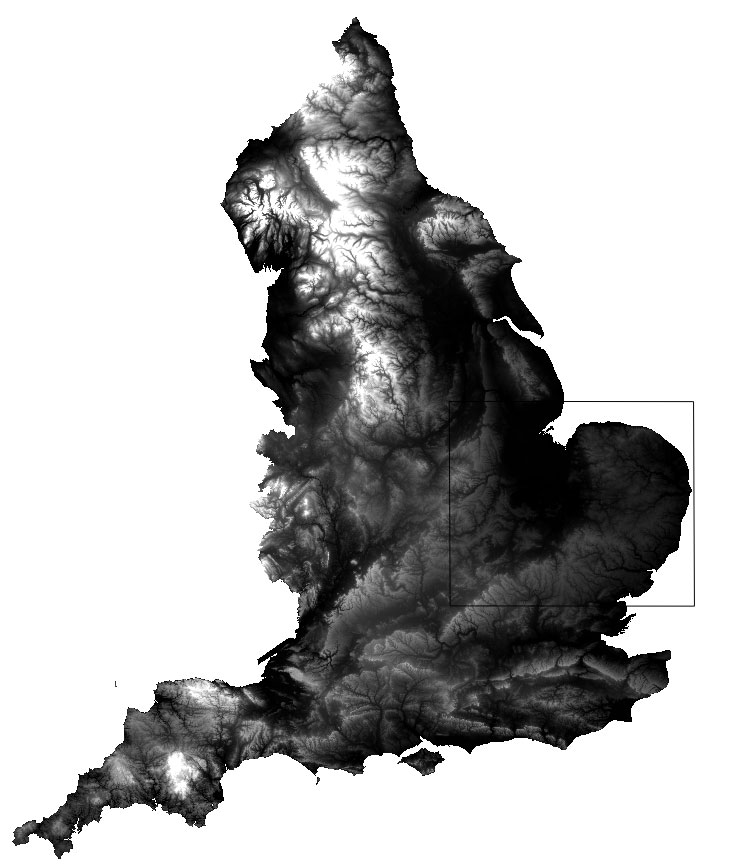
The image will become much faster to manipulate once the surplus data is removed. We now have to decide upon the area of East Anglia which we want to work with.
 |
If you have already created a Clip File for East Anglia, by drawing a rectangle around the area we wish to work with, then proceed as follows:-
Load this file into QGIS by 'Layer/Add Layer/Add Vector Layer' then browsing to the folder containing your clip layer. (It is best to copy the clip layer into the same project folder as you are currently working on.)
In order to clip off the part we want, we have to create a new layer, containing a new 'polygon' which will be used as the "scissors" to cut off the material we wish to keep.
The process begins by selecting: 'Layer/Create Layer/New Shapefile Layer'.
This will open a dialogue entitled, 'New Vector Layer' which requires some input from you. In the 'Type' section, select 'polygon'. Check that the Coordinate Reference System drop down menu says, 'EPSG:27700, OSGB 1936 / British National Grid'.
Ignore the rest and click OK.
A new dialogue opens which requires you to give your new file a name, such as 'cliplayer', and decide where you want it stored.
The name of the layer will appear in the list of layers. We now need to draw our polygon around East Anglia. Click on the icon of a pencil, which turns on the editing feature, and makes the appropriate tools available to us. Find the 'Add feature' button, and click it.
The next bit is tricky. Move the cursor to the top left corner of the area which you want to include. When you are happy left click, and a dot appears on the map of England. Release your click and move the cursor to the top right of the rectangle you require. A string of dots should follow your cursor until you left click on the new point. A line should appear between the two points. Now release that click and move down to the bottom right corner and click again. You should now see a red triangle outlined. Release the click and move to your final point and left click to complete the feature. You must now right click to release the cursor. You will be asked to ID the feature, but you can just click OK. The new polygon should now be a filled square on the map.
Cick on the pencil icon to turn off editing, and you will be asked if you wish to save the new feature, and answer 'Yes' if you are happy or 'No' to have a repeat performance. Here I have also changed the style of the clip layer to be transparent, as follows:-
. Double click on the Layer Name to open the properties dialogue. Select the Style tab. Click on coloured block under 'Simple Fill'. Select the 'Colours' drop down menu and click on 'Transparent Fill'. Finally we come to actual clipping operation.
 |
Here we will be clipping a raster layer, which requires a slightly different procedure to follow than clipping a vector file as in an earlier example.
Select 'Raster/Extraction/Clipper'. A new dialogue appears which requires you to specify 'Input File (raster)', which is the name of the layer you wish to clip. In the Clipping Mode section, select 'Mask Layer'. In the Mask Layer filename, enter the name you gave to your cliplayer. The 'clip layer' is the name you gave to the rectangle you drew to specify the area you wanted.
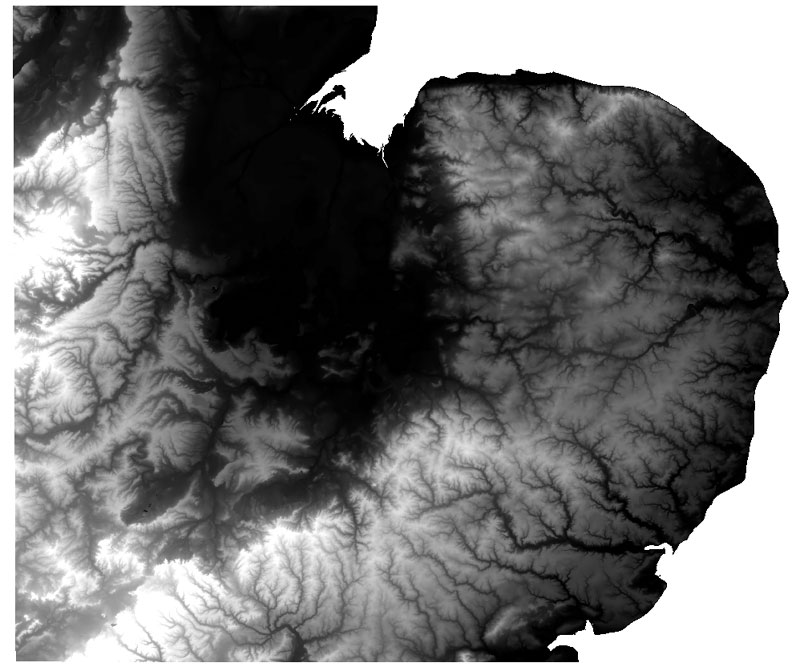
Finally, you also need to name the new layer which you have created, and specify where you want it stored. You could name it EA_dtm. After clicking OK it should appear on your map.
In some cases you may get the error message: "Cannot compute bounding box." This error has caused a deal of consternation among users in the past. It may be because your clip layer extends beyond the extent of the layer being clipped. It can also occur when the projection of each layer is different, or when OTF reprojection is causing a problem. Opinions differ on this problem.
Usually it is best to try a work around such as 'Raster/Projections/Warp (reproject)'. This gives you the chance to use another routine to clip the area you want. In the dialogue which opens, the Input file is your larger layer. The output file is the name of the clipped output which you require. The target SRS is 'EPSG:27700', (ie OSGB 36 - National Grid). The 'Mask file' entry should contain the name of the clip layer, and then click OK. In this case I specified the output as a Geo-tiff file.
 |
It would be useful to ensure that all the layers which you wish to use in making maps of East Anglia are now clipped in the same manner. You should now be able to clip both raster maps and vector maps using the techniques already described.
| Go to DIY digital mapping Homepage |
This page created 17th September 2015 Last updated 30th September 2015. | Go to Main Home Page |